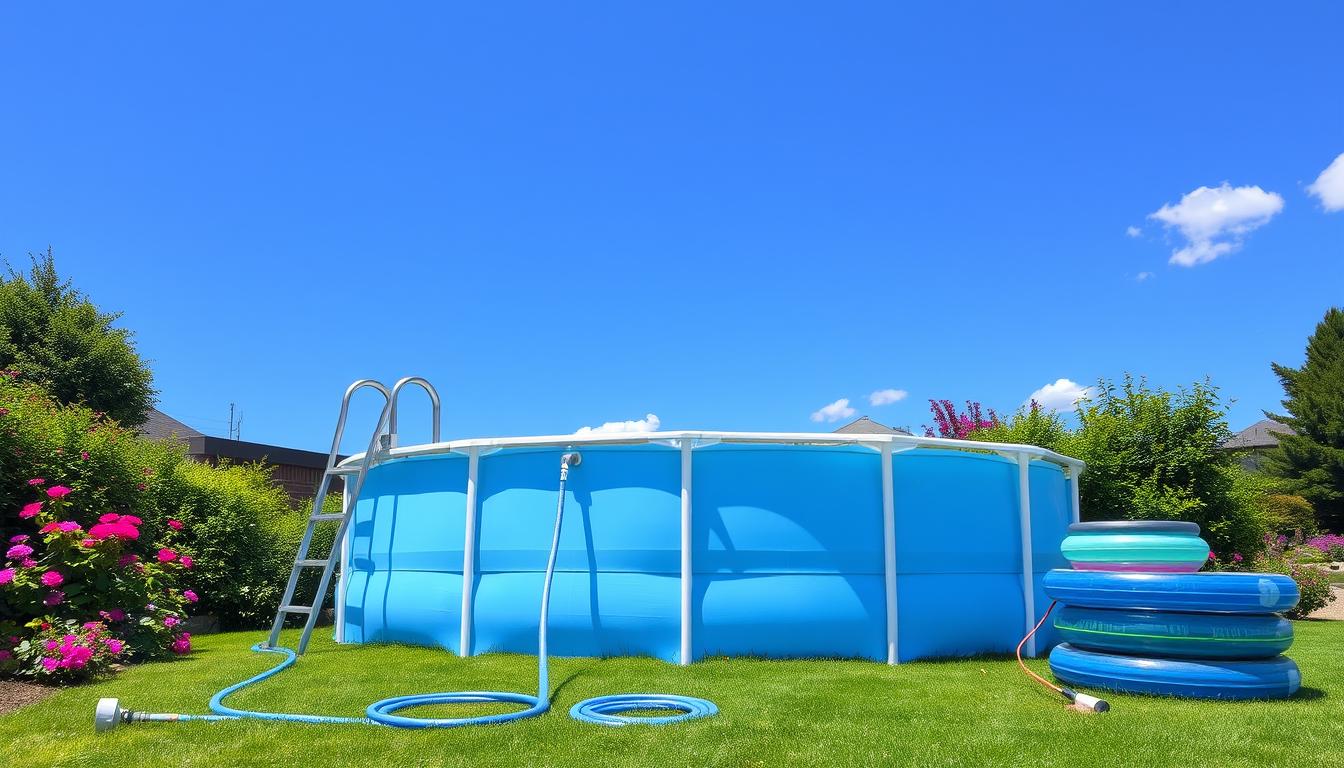
An above-ground pool creates a perfect backyard oasis for relaxation and fun. Proper start-up is crucial before enjoying your new pool. This guide covers installing above-ground pools and maintaining them for a sparkling season.
We’ll explore site preparation, pool setup, and filling it with water. You’ll also learn maintenance tips to keep your pool in top shape.
Pool setup, installation, and initial maintenance are key steps in starting your above ground pool. Careful preparation ensures your backyard pool is ready for a great swimming season.
Regular swimming pool maintenance keeps the water clean and safe. It’s essential for a enjoyable swimming experience all summer long.
Key Takeaways:
- Proper site preparation and leveling are crucial for above ground pool installation.
- Careful assembly of the pool frame and liner is necessary for a secure and leak-free pool.
- Filling the pool with water and running the filtration system are essential steps in the start-up process.
- Testing and balancing pool water chemistry is critical for maintaining a safe and healthy swimming environment.
- Regular cleaning and maintenance, including skimming, brushing, and vacuuming, will keep your pool in top condition.
Understanding Above Ground Pools
Above ground pools offer a budget-friendly way to enjoy backyard swimming. They’re easier to install and maintain than inground pools. These pools come in various sizes and shapes to fit different yards.
Benefits of Above Ground Pools
Above ground pools are more affordable than inground ones. They’re quicker to install, requiring less excavation and construction. You can have your pool ready in days, not months.
These pools are also more flexible. You can disassemble and move them if needed. They’re safer for kids and pets due to higher walls.
Types of Above Ground Pools
There are three main types of above ground pools: steel, resin, and hybrid. Steel pools are economical and durable. They can withstand harsh weather conditions for years.
Resin pools resist corrosion and oxidation. They’re low-maintenance and easy to assemble. DIY enthusiasts often prefer resin pools for their lightweight design.
Hybrid pools combine steel frames with resin components. They offer enhanced stability and longevity. These pools are easy to care for and provide the best of both materials.
When selecting an above ground pool, consider factors such as the size of your backyard, your budget, and your desired level of maintenance. With so many options available, you’re sure to find the perfect pool to fit your needs and lifestyle.
| Above Ground Pool Type | Key Features |
|---|---|
| Steel | Economical, durable, and strong; withstands the elements |
| Resin | Low-maintenance, corrosion-resistant, lightweight, and easy to assemble |
| Hybrid | Combines the strength of steel with the low-maintenance benefits of resin |
Choose a quality pool liner and reliable pump for your above ground pool. Proper setup and regular care will ensure years of family enjoyment.
Installing Your Above Ground Pool
Installing an above ground pool is an exciting project. It requires careful planning and execution. Focus on key aspects like location, foundation, frame assembly, and liner installation.
By following best practices, you can create a beautiful backyard oasis. Your new pool will provide endless hours of enjoyment for your family.
Choosing the Right Location for Your Pool
Selecting the ideal spot for your pool is crucial. Consider factors that affect aesthetics and long-term maintenance.
- Level surface: Ensure the area is flat and stable to prevent water from pooling unevenly.
- Sunlight exposure: Choose a spot that receives ample sunlight to keep the water warm and inviting.
- Proximity to utilities: Ensure easy access to electrical outlets and water sources for pool equipment.
- Clearance from obstacles: Avoid areas with overhead power lines, trees, or other structures that could interfere with pool installation or use.
Creating a Level Foundation
A level foundation is essential for pool stability and longevity. To create a suitable base:
- Clear the area of grass, rocks, and debris.
- Use a shovel or leveler to grade the surface, ensuring it is flat and even.
- Consider adding a layer of sand or fine gravel to provide a smooth, stable base for the pool liner.
Setting Up the Frame and Pool Liner
With the foundation ready, it’s time to assemble the pool frame. Follow these steps to install the liner:
- Lay out the frame components according to the manufacturer’s instructions.
- Connect the frame pieces securely, ensuring all joints are properly aligned and tightened.
- Place the pool liner inside the frame, smoothing out any wrinkles or folds with a soft broom.
- Secure the liner to the frame using the provided clips or coping strips.
Filling the Pool with Water
Once the frame and liner are set, start filling your pool. Keep these tips in mind:
- Use a garden hose to fill the pool slowly, allowing the liner to stretch and settle as the water level rises.
- Monitor the water level closely, ensuring it remains even throughout the filling process.
- As the pool fills, check for any leaks or damage to the liner, addressing issues promptly.
- Test the water chemistry regularly using a reliable pool test kit, adjusting levels as needed to maintain a safe and balanced swimming environment.
Follow these installation guidelines for a successful above ground pool setup. Pay attention to location, foundation, and proper frame and liner installation.
With your new pool in place, you’ll be ready for summer fun. Enjoy countless hours of swimming with family and friends.
Maintaining Your Above Ground Pool
Regular pool maintenance is crucial for a safe and enjoyable swimming experience. It involves proper water chemistry, using the right chemicals, and keeping the pool clean. This ensures the pool stays in top condition for family and friends.
Pool maintenance equipment is essential for these tasks. It helps extend the pool’s lifespan and keeps the water safe for swimmers.
Importance of Pool Maintenance
Consistent pool maintenance is crucial for several reasons:
- It extends the lifespan of our pool and its components
- It ensures the water is safe and healthy for swimmers
- It prevents damage to the pool system from improper water balance
- It keeps the pool looking clean and inviting
Required Pool Chemicals: Chlorine, Pool Salt, Algaecide
To maintain proper water chemistry, we need to use the following pool chemicals:
- Chlorine: Sanitizes the pool water and kills bacteria and other contaminants
- Pool salt: Assists chlorine in sanitizing and provides soft, gentle water
- Algaecide: Kills and prevents algae growth in the pool
Maintaining the right chemical levels in our pool water is crucial. Here’s a table showing the ideal ranges:
| Chemical | Ideal Range |
|---|---|
| pH | 7.4–7.6 |
| Total Alkalinity | 80–120 ppm |
| Calcium Hardness | 200–400 ppm |
| Cyanuric Acid | 30–50 ppm |
| Free Chlorine | 1–4 ppm |
How to Use a Pool Test Kit
A pool test kit is vital for checking water chemistry. Here’s how to use it:
- Collect a water sample from the pool
- Add the appropriate reagents to the sample as directed by the kit
- Compare the color of the sample to the provided chart to determine the chemical levels
- Adjust the pool chemicals as needed based on the test results
Testing our pool water at least once a week is advised to maintain balanced pool chemicals.
Cleaning Your Pool: Nets, Brushes & Vacuum
Regular cleaning is essential for a healthy pool. Use these tools:
- Net: Removes visible debris from the water surface
- Brush: Scrubs the pool walls and floor to prevent algae growth and remove dirt
- Vacuum: Provides a thorough cleaning of the pool floor and removes small debris
Clean your pool weekly by skimming, brushing, and vacuuming. This keeps it looking great and ensures a healthy swimming environment.
How to Start-Up an Above Ground Pool for the First Time
Starting your new above ground pool is thrilling. Follow these simple steps to get ready for a splash. Let’s go through the process for a smooth start-up.
Step 1: Fill the Pool with Water
Fill your pool 1/3 full with water. Add chlorine to start sanitizing. Keep filling until water reaches halfway up the skimmer opening.
Step 2: Test and Balance the Water Chemistry
Test the water chemistry once your pool is full. Use a pool test kit for pH, alkalinity, and chlorine levels. Aim for these ideal ranges:
| Parameter | Ideal Range |
|---|---|
| pH | 7.2-7.6 |
| Alkalinity | 80-120 ppm |
| Free Chlorine | 1-3 ppm |
Adjust levels using pool chemicals as needed. Proper balance ensures a safe and comfy swimming environment.
Step 3: Run the Pool Pump and Filter
Start circulating the water after balancing chemistry. Turn on your pool pump and filter system. This spreads chemicals evenly and removes debris.
Run the pump for 8-12 hours daily. Make sure the water volume turns over 1-2 times every 24 hours.
Did you know? Above ground pools are less expensive and quicker to install than inground pools. This makes them popular among homeowners.
Step 4: Enjoy Your New Above Ground Pool!
Your pool is ready after 24-48 hours of circulation. Keep an eye on water chemistry and do regular maintenance. Clean with nets, brushes, and a vacuum.
Following these steps will help you start your pool confidently. You’ll create a great space for family fun and relaxation. Dive in and enjoy!
Conclusion
Starting an above ground pool journey can be thrilling. This guide equips you to choose the perfect pool for your backyard oasis. You’ll learn about durable steel pools, low-maintenance resin pools, and hybrid models.
Installing your pool will be easy with the right location and level foundation. Regular maintenance is crucial for a safe swimming experience. Test and balance water chemistry, clean the pool often, and use proper accessories.
Winterize your pool to protect it during colder months. Add personal touches like lounge chairs and umbrellas to create a lovely backyard oasis. Your above ground pool will provide years of fun and relaxation.


