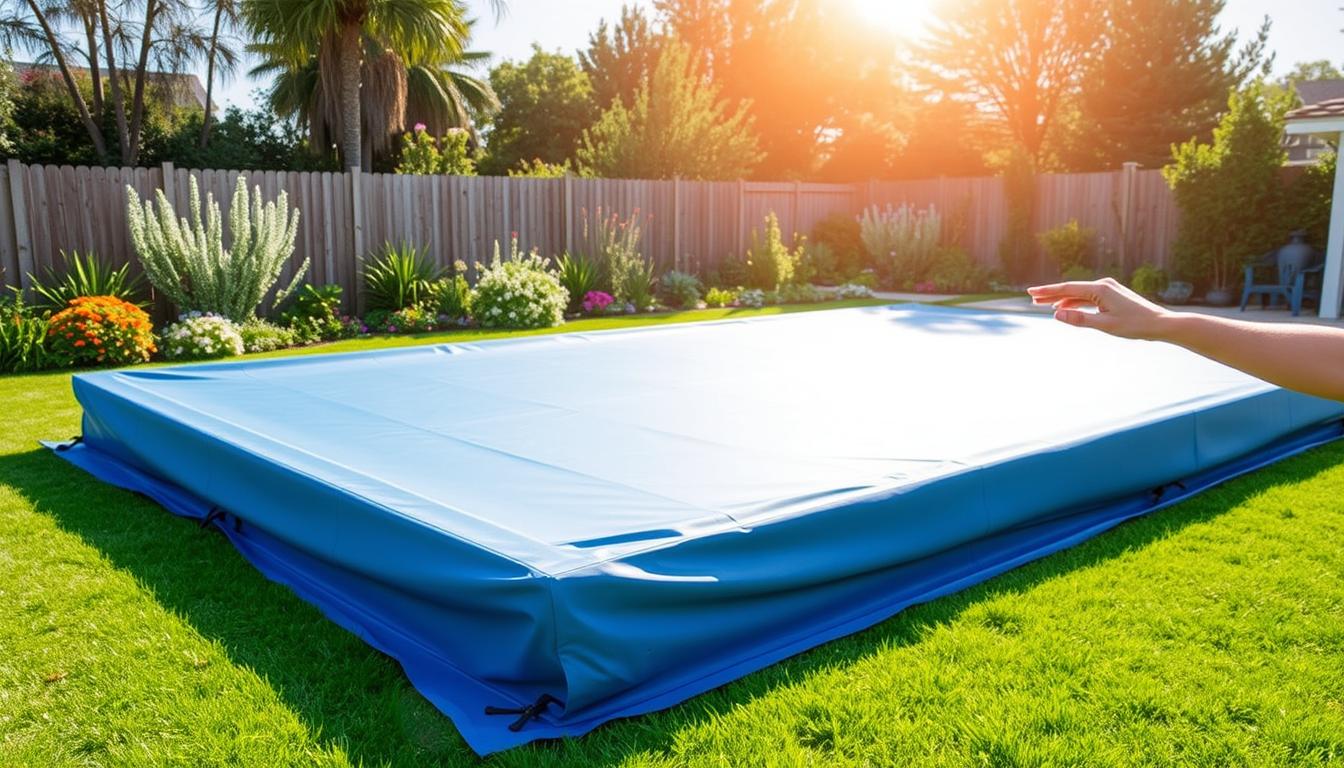
A well-installed pool cover can slash your pool’s energy costs by half. It’s vital for pool maintenance and safety. Let’s explore how to secure different types of pool covers.
Selecting the right pool cover is crucial. Think about your pool’s size, shape, and location. Consider your budget and desired features too.
Measure your pool accurately for a perfect fit. Gather tools like scissors, a utility knife, and a pool cover roller. These will make installation much easier.
Preparing Your Pool Cover
Proper preparation is key for a smooth pool cover installation. The right cover and tools will make the process easier. Let’s get started with the essentials.

Choose the Right Type of Pool Cover
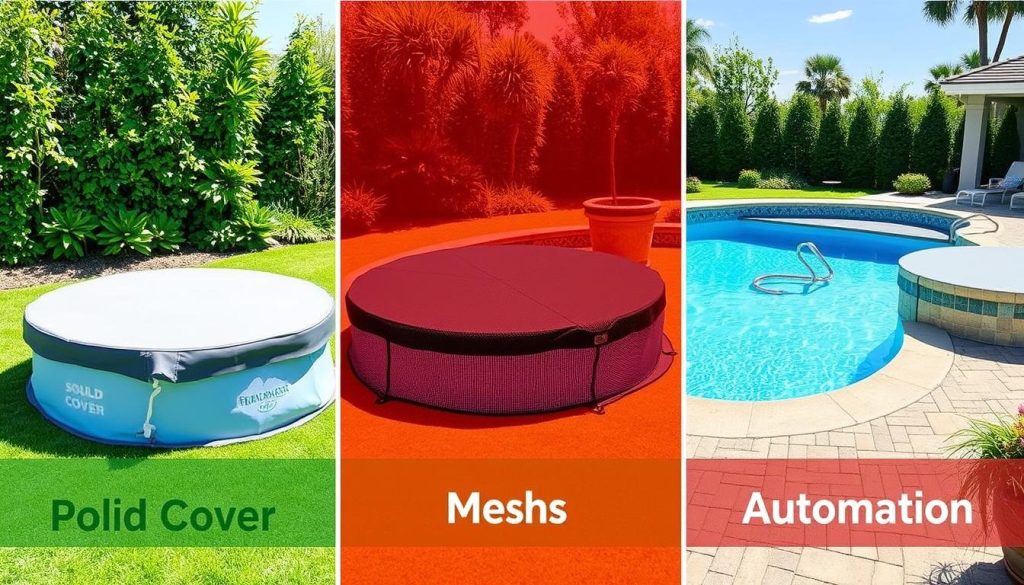
Pool covers come in various types, each with unique features. Solar covers keep the pool warm and prevent evaporation. Plastic covers focus on keeping debris out and reducing water loss.
Safety covers are designed to prevent accidental falls. They can hold weight and provide extra protection for your pool.
| Cover Type | Benefits | Drawbacks |
|---|---|---|
| Solar Covers | Keeps pool warm, prevents evaporation | Less durable than other options |
| Plastic Covers | Keeps debris out, reduces evaporation | Doesn’t provide added heat |
| Safety Covers | Prevents accidental falls, highly durable | More expensive than other options |
Measure Your Pool for a Perfect Fit
Accurate pool measurements are crucial for a proper cover fit. Measure the length and width of your pool. Don’t forget to account for unique features like stairs or diving boards.
Most cover labels show the pool size they fit. They also include extra dimensions for overlap. If your pool is between sizes, go for the next size up.
Pro Tip: When measuring your pool, consider adding an extra 2-3 feet on each side to allow for adequate overlap and a secure fit.
Gather Necessary Tools and Materials
Make sure you have all the tools and materials ready. Depending on your cover type, you might need:
- Scissors or a utility knife for trimming the cover
- A power drill for installing anchors (for safety covers)
- Safety rods or water bags for weighing down the cover
- A cover pump for removing standing water (for solid covers)
Choosing the right cover and tools sets you up for success. With accurate measurements and proper preparation, you’ll install your pool cover with ease.
Installing a Solar or Plastic Pool Cover
Installing a pool cover is easy and offers many benefits. It saves energy, reduces water loss, and keeps your pool clean. Follow these steps to install your cover correctly.
Unroll the Cover Along the Pool Edge
Start by unrolling your cover along one pool edge. Make sure the bubbles face down if applicable. Unroll until you reach the opposite side.
Unfold the Cover Across the Width of the Pool
Next, unfold the cover across the pool’s width. Do this one section at a time. Center the cover evenly across the pool surface.
Don’t worry if it’s slightly short. It will still protect and maintain the pool’s temperature.
Trim the Edges for a Custom Fit
For a perfect fit, trim the cover edges with sharp scissors. You can cut along the waterline or leave a 2-inch excess.
Tucking the excess under the pool edge ensures a snug fit. This keeps the cover in place, even in windy conditions.
| Solar Cover Thickness | Warranty Period | Temperature Increase |
|---|---|---|
| 8 mil (thinnest) | 3-year limited warranty | Up to 10ºF |
| 12 mil (medium) | 7-year limited warranty | Up to 15ºF |
| 16 mil (thickest) | 8-year limited warranty | Up to 18ºF |
Solar covers come in different thicknesses. Thinner covers are lightweight and cheaper. Thicker covers provide better insulation and last longer.
Consider Installing a Roller for Convenience
A roller or reel system makes handling your pool cover easier. It lets you quickly roll and unroll the cover.
This saves time and effort. Rollers also extend your cover’s life by preventing damage.
The US Department of Energy encourages pool owners to use pool covers like solar blankets to reduce energy demands and pool heater emissions.
A pool cover offers many advantages. You’ll enjoy a warmer, cleaner pool while saving energy and water.
With proper care, your cover will last for years. It will help you extend your swimming season and enjoy your pool more.
How to Put on a Pool Cover: Safety Covers
Safety covers are crucial for pool protection and winter safety. They’re made of strong materials like canvas or plastic. These covers can hold the weight of people or pets.
First, measure your pool for a perfect fit. Safety covers are usually 2 feet longer and wider than the pool. Gather tools like a drill, bits, anchors, screws, buckles, and springs.
Drill holes 4 inches from the longest strap’s end. Install brass anchors securely. Use wood deck anchors for wooden decks. Install covers on 4-inch thick concrete decks for proper support.
Spread the cover over the pool, keeping it above water. Hook the cover to anchors with springs or straps. Adjust straps to keep the cover tight.
Drowning is the leading cause of unintentional deaths in children ages 1-4, and the second leading cause in children ages 5-14, according to the Centers for Disease Control and Prevention (CDC).
Motorized safety covers offer extra convenience and protection. They open and close with a button push. Automatic covers are pricey but provide great safety.
Maintain your cover by checking tension and anchor security often. Keep pool water no more than 18 inches below deck level. This prevents cover damage.
| Cover Type | Cost Comparison |
|---|---|
| Mesh Safety Covers | Less expensive than solid covers |
| Automatic Safety Covers | Most expensive type of safety pool covers |
Safety covers are great, but don’t replace careful supervision. Always be cautious around the pool, especially with children present.
- Measure your pool for a perfect fit
- Gather necessary tools and materials
- Drill holes and install anchors
- Spread the cover across the pool
- Hook the cover to the anchors
- Maintain proper cover tension and pool water level
Follow these steps to secure your pool during winter and when not in use. Your efforts will bring peace of mind and a safer pool area.
Conclusion
Installing a pool cover is crucial for every pool owner. Choose the right cover type and measure your pool accurately. Follow proper installation steps to enjoy benefits like debris protection and energy savings.
Keep your pool covered when not in use. Consider a safety cover for extra peace of mind. Proper maintenance is key to maximizing your cover’s effectiveness.
Loop-Loc suggests keeping winter water levels 15″ to 18″ below the pool top. This supports snow weight on the cover. Check your safety cover regularly for damage.
Ensure proper tensioning of straps and springs to prevent sagging. Maintain proper sanitizer and algaecide levels during winter. This keeps pool water clear and reduces spring clean-up.
Night-time covers reduce water evaporation, saving on bills and water additions. They also prevent debris entry, making daily cleaning easier. Covers retain heat, regulating temperature and minimizing reheating energy needs.
Covering at night maintains stable pool environments. This reduces chemical imbalances and skin irritations from excessive chemical use. The result is a more enjoyable swimming experience for all.
With proper care, your pool will stay in excellent condition. Different cover types offer various benefits. These include affordability, durability, ease of use, and weather protection.
Regular cover use preserves pool quality and protects against damage. Invest in a high-quality cover and follow maintenance tips. This ensures your pool remains enjoyable for years to come.


