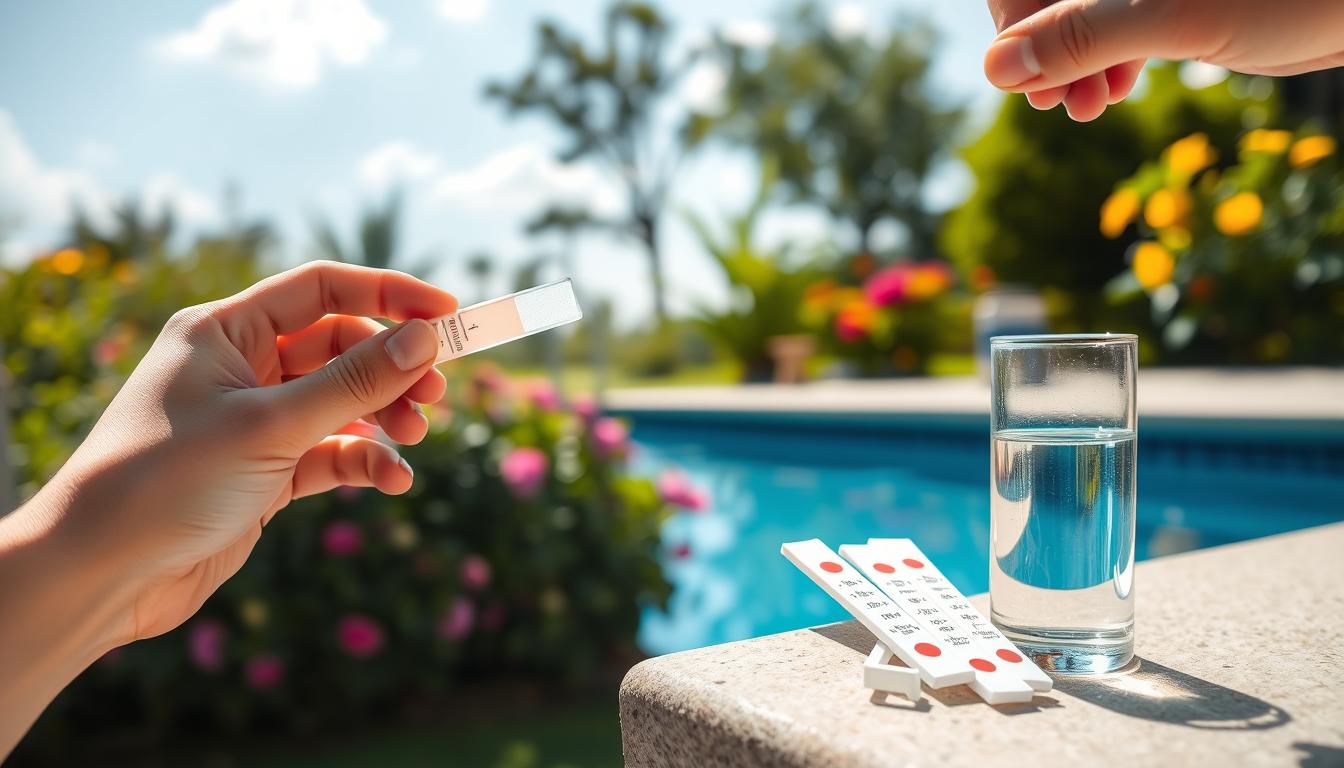
Proper pool water chemistry is vital for a safe, clean swimming experience. Calcium hardness (CH) is a key factor in pool maintenance. It measures dissolved calcium and magnesium in the water.
Regular testing and balancing of CH levels are crucial. This guide will show you how to test and maintain calcium levels in your pool.
Ignoring calcium hardness can cause many problems. These include scaling on surfaces, cloudy water, and corrosion of metal parts. Regular testing helps prevent these issues and extends your pool’s life.
This guide covers ideal CH ranges for different pool types. You’ll learn how to test and maintain proper levels for your pool.
Key Takeaways
- Calcium hardness is a critical component of overall pool water chemistry, affecting the health and appearance of your pool.
- Ideal calcium hardness ranges differ based on pool type: 250-500 ppm for plaster/concrete and 100-300 ppm for fiberglass/vinyl.
- Regular pool calcium hardness testing, preferably using liquid-based test kits, is essential for maintaining balanced levels.
- Unbalanced calcium levels can cause scaling, cloudiness, corrosion, and poor water circulation.
- Proper pool maintenance includes testing and adjusting calcium hardness, as well as monitoring pH, alkalinity, and chlorine levels.
Understanding Calcium Hardness in Pools
Calcium hardness is vital for your pool’s health. It’s the amount of dissolved calcium and magnesium in the water. Proper balance protects surfaces, equipment, and the swimming experience.
We’ll explore balanced calcium levels’ importance. We’ll also discuss unbalanced calcium hardness consequences. Finally, we’ll cover ideal ranges for different pool types.
Importance of Balanced Calcium Levels
Balanced calcium levels protect your pool’s surfaces and equipment. Low calcium makes water corrosive, damaging plaster, concrete, and tile grout. High calcium causes scaling, cloudiness, and reduced water circulation.
Maintaining proper calcium levels prevents costly repairs. It also ensures a pleasant swimming experience. Regular testing and adjusting are key to pool health.
Consequences of Unbalanced Calcium Hardness
Unbalanced calcium hardness can cause several pool issues. These include:
- Scaling and staining of pool surfaces
- Reduced efficiency of the filtration system
- Clogged pipes and equipment due to calcium buildup
- Skin and eye irritation for swimmers
- Cloudy or hazy water
- Increased algae growth
- Corrosion of metal fittings and equipment
Regular testing and adjusting calcium hardness levels is crucial. This helps maintain optimal pool health and prevents these problems.
Ideal Calcium Hardness Range for Different Pool Types
The ideal calcium hardness range depends on your pool type. Here’s a breakdown:
| Pool Type | Ideal Calcium Hardness Range (ppm) |
|---|---|
| Plaster or Concrete Pools | 200-400 |
| Fiberglass Pools | 175-225 |
| Vinyl Liner Pools | 175-225 |
| Saltwater Pools | 200-400 |
Some fiberglass pools may contain calcium in their manufacturing process. These pools need a minimum calcium level. Maintain the recommended range for your pool type.
This ensures optimal performance and longevity of your pool surfaces and equipment. Regular testing and adjusting will keep your pool in top shape.
Step-by-Step Guide: How to Test Calcium Hardness in Pool
Testing calcium hardness is vital for good pool water chemistry. This guide helps you keep calcium levels between 200-400 ppm. Proper levels prevent scale, protect equipment, and improve swimming.
Gathering Necessary Supplies and Tools
Get a pool calcium test kit before starting. It should have a comparator tube, calcium buffer, indicator, and hardness reagent. Have a clean surface, pen, and paper ready to record results.
Collecting a Proper Water Sample
Take water from the deep end, 18 inches below the surface. Avoid skimmers and return jets. Fill the tube to the 25 mL mark.
Conducting the Calcium Hardness Test
Add 20 drops of calcium buffer to your sample. Swirl to mix. Add 5 drops of calcium indicator. The water will turn red if calcium is present.
Add calcium hardness reagent drop by drop. Swirl after each drop until the sample turns blue. Count the drops and multiply by 10 for ppm.
Interpreting Test Results and Troubleshooting Common Issues
Compare your results to the ideal range of 200-400 ppm. No action is needed if levels are good. Purple results mean low calcium hardness.
Use calcium chloride to raise levels if needed. For high levels, partially drain and refill the pool. Always retest after making changes.


